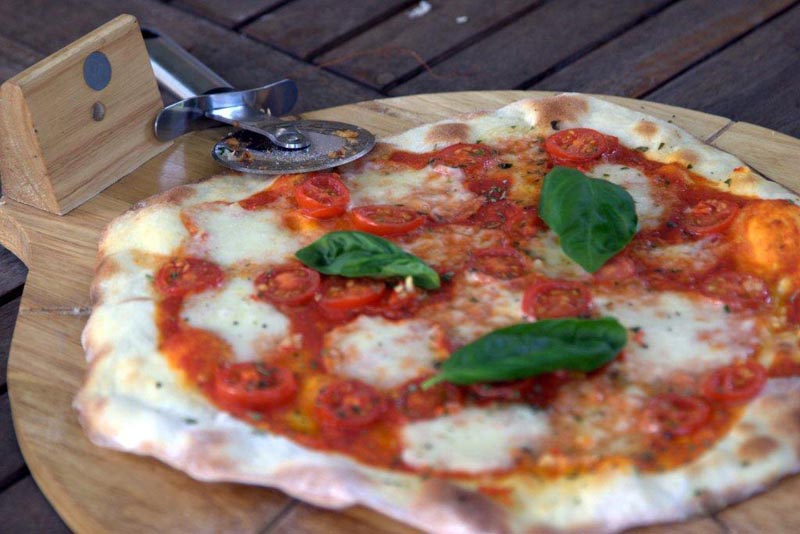
Wood Pizza Oven Kit Construction Project
Assembling a modular wood oven kit is easier than you may think!
Always wanted to build your own pizza oven but being talked out of it by wife and neighbors? Don't let them stop you! The project below was undertaken by a first time builder who has conclusively proven that you can have a great oven without a great price tag.
Stage 1: Pour the slab in the ground from regular Portland cement reinforced with rebars and start building your base from cinder blocks. In this case they are being vertically reinforced with rebars which improves stability.
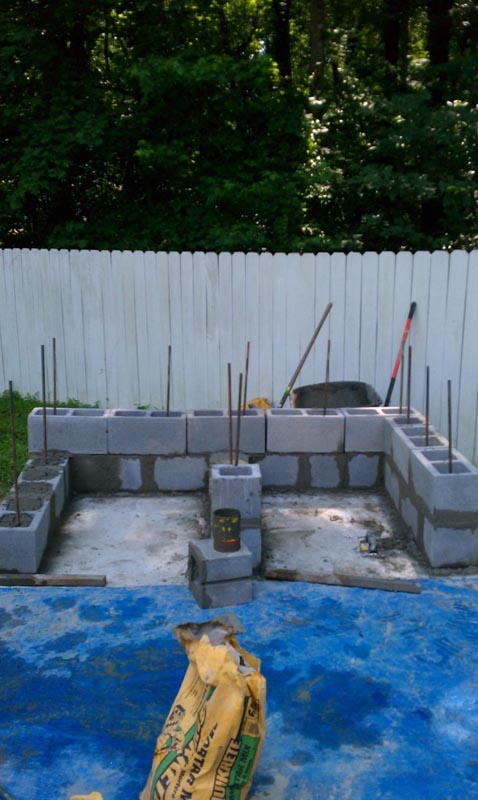
Stage 2: Finish the base. Take care to use the level frequently to make sure all walls are straight.
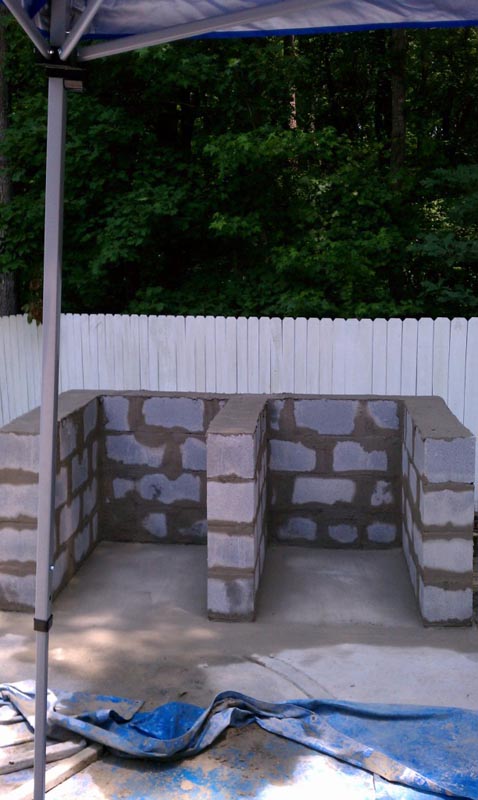
Stage 3: Lay down the weight-bearing surface - this is the surface which will support the oven. In many cases this will be a poured cement slab however nothing is simplier than 4x4 or 8x8 wood bars which are used in this project.
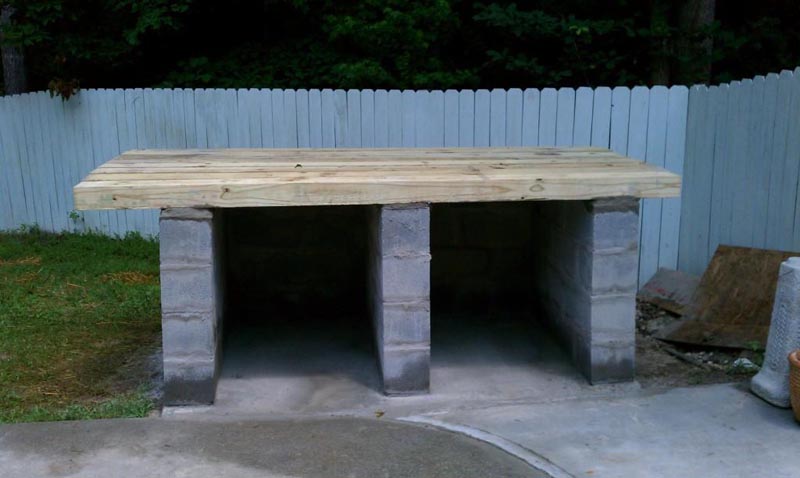
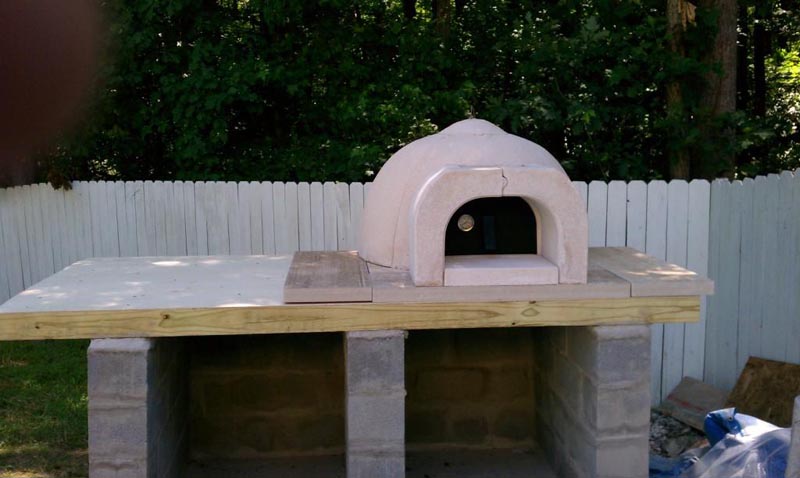
Stage 4: Insulation under the oven floor. The boards are first covered with sheets of plywood for uniformity. The easiest way to insulate the floor of the oven is to use Insblok or Thermafiber 2" mineral board. This is precisely what's used in this project. On the picture below you can see the bottom layer of Insblok mineral board and immediately on top is the oven floor and dome.

Stage 5: Finish oven assembly. The mineral boards on the sides are added in order to keep the entire surface on the same level. The layer of dome insulation will rest on the boards around the side of the oven.
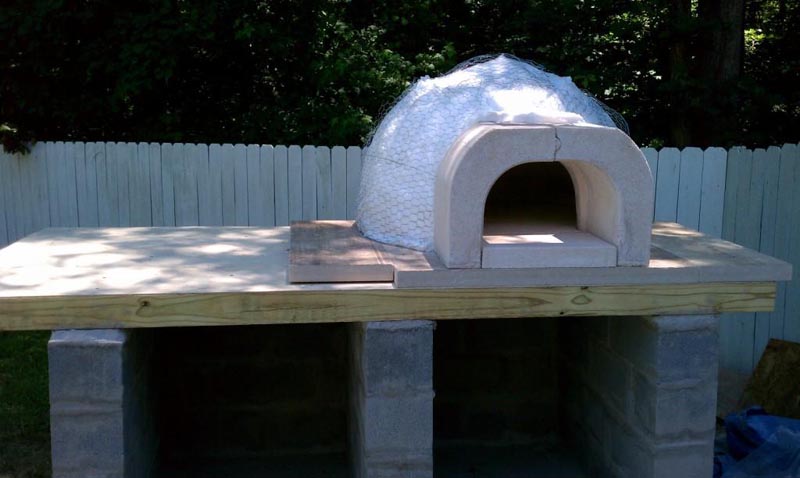
Stage 6: Insulate the oven. If you are using rock wool or a ceramic blanket then wrap it around the oven and press down with chicken wire. You can then apply a 2-4" layer of vermiculite on top of the blanket. The chicken wire serves to reinforce the vermiculite. Applying vermiculite is not a must, the blanket itself is a poweful enough insulator provided there is no less than 3" of it.
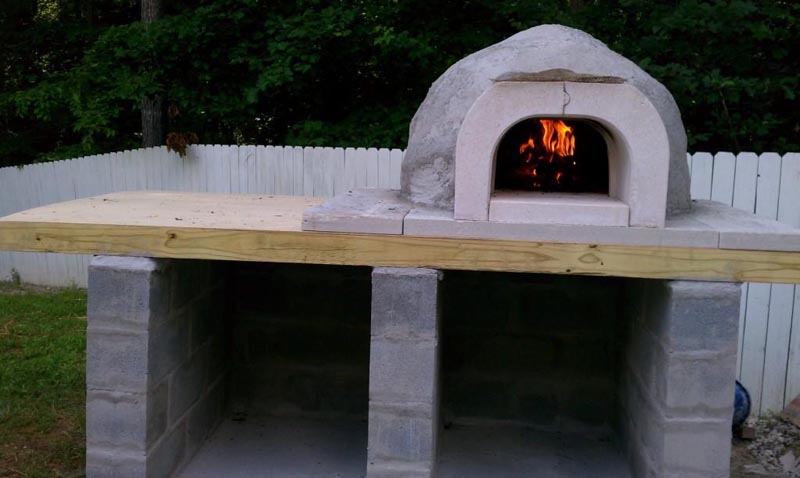
Stage 7: At this time it's a good idea to run a curing fire to drive out the moisture from the dome of the oven and to feel out under-insulated spots. It's done now when it's not yet too late to add further insulation as opposed to waiting until the oven is already bricked in or stuccoed over. If you find some area too warm to your touch add insulation.
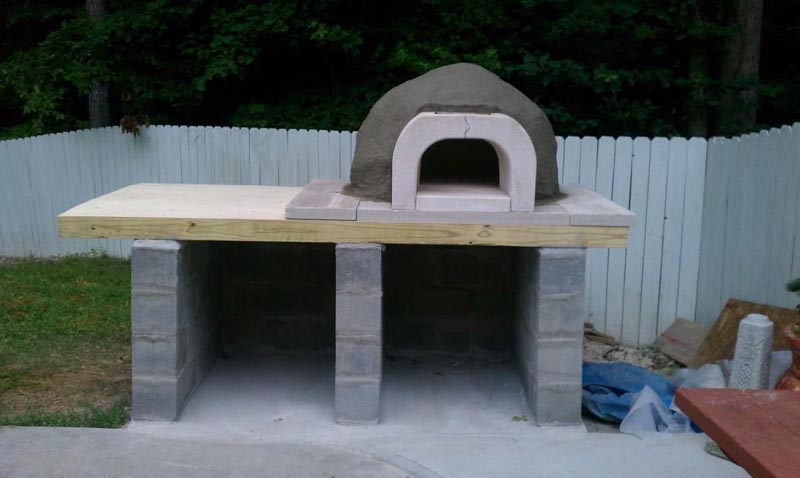
Stage 8: The oven is now fully functional, the rest is cosmetics. Apply stucco to the dome and tiles or bricks to the front arch.
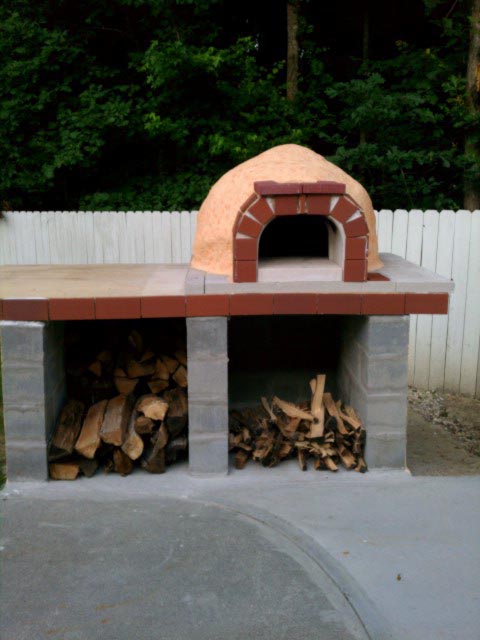
Stage 9: Cover plywood with tiles. Add chimney. You can use a clay or a metal chimney. Or a clay flue liner.
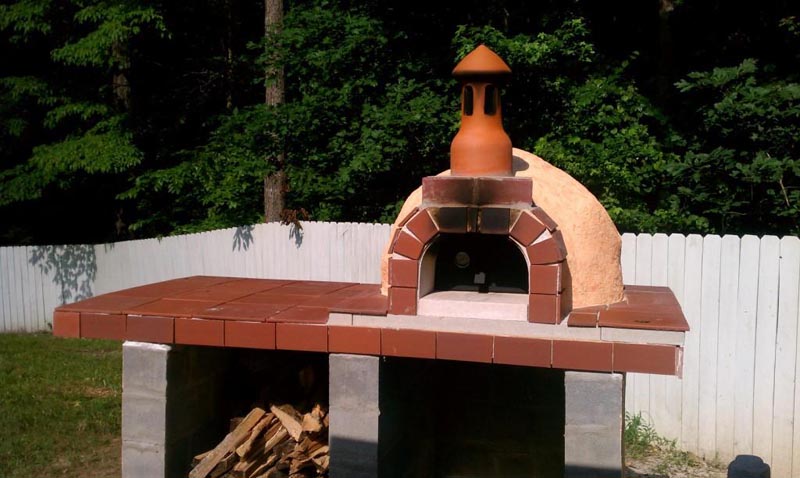
Stage 10: Ha ha! You won! Wife is shocked, neighbors are looking through the fence! And soon you can tease them with the smell of your victory! Enjoy!
